 WP Accessibility Knowledge Base
Tables in the content
When you want to show information in a structured way, a table made up of rows and columns is a clear way to present your data. How do you do this so that everyone understands the information?
Important to make the data understandable for users that rely on assistive technology like a screen reader:
- Make sure you use a real HTML table and not, for example, spaces or other dividers to separate the data.
- Use table headers to describe the columns and rows.
- If possible, give the table a caption to describe the purpose of the table. If that is not possible, add a heading just above the table with a heading level that fits within the heading structure of the page.
How to create tables in frontend development is addressed in the “Frontend code” section Tables in code.
| Year | City | Country |
|---|---|---|
| 2026 | Kraków | Poland |
| 2025 | Basel | Switzerland |
| 2024 | Turin | Italy |
Entering the table, the caption is announced, then the table headers, and then with each cell the header is repeated with the cel data. In the table above “The cities of WordCamp Europe” is the caption. “Year”, “City”, and “Country” are the table headers.
When designing the structure of a table, keep in mind: when a complex table is hard to make accessible, it’s probably also hard to understand for every reader. It’s sometimes best to split up a complex table into multiple tables or use a different structure, such as unordered lists. Try to display the data as simply as possible, always keeping your reader in mind.
Warning: Using a table only for layout and not for displaying data makes the content hard to understand for screen reader users. It is actually a WCAG violation to use a table for layout only. See WCAG 1.3.1 Info and Relationships.
The table block in WordPress Admin
With the default Table block you can create simple accessible tables. This example is created with WordPress 7.1.
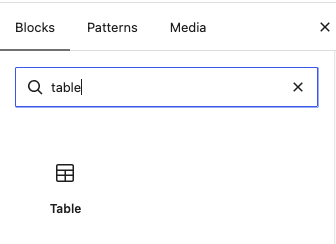
Step 1. When editing or adding a post, search for the table block and select it.
Step 2. Select how many columns and rows you want in the table and add the table to the content.
Step 3. Give the table a sort heading that describes the purpose of the table.
Step 4. Select the table block and select with the options: Header section.
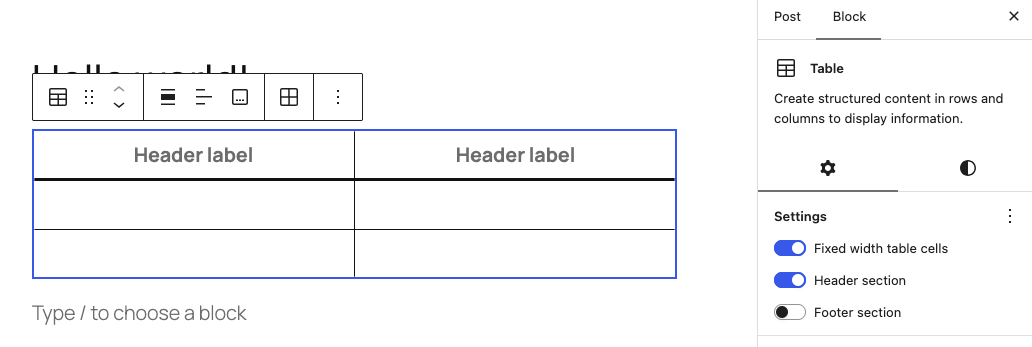
Step 5. Fill in the table headers and the cells.
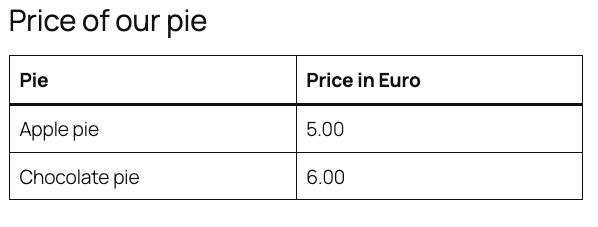
Step 6. Save the post and check the table on the webpage
Read Table block in the WordPress documentation for more information about how to use the Table block in the Admin read.
These are the current options to create an accessible table in the WordPress Admin. If you want more, try out one of the plugins that can add more features to the table block, like row headers and captions. Before using a plugin, make sure it creates accessible tables in the website. You can test this by using a test tool like the WAVE Browser Extension on the webpage with the table.
Work is currently underway to improve and enhance the table block in the WordPress Admin. You can follow this in the GitHub issues labeled Block Table. There are plans for expanding the capabilities of the table block, assistance is welcome in making this happen.
Resources
Related WCAG success criteria for tables
- 1.3.1 Info and Relationships (Level A).
- 1.3.2 Meaningful Sequence (Level A).
Related pages in this documentation
- Tables in frontend development in Frontend code.
- Semantic HTML in Frontend code.
Other resources
- Creating Accessible Tables, by WebAIM.
- Tables Tutorial, by the W3C.
- How to Create Tables in WordPress Using the Block Editor, Plugins, and External Sources, by Jordana Alexandrea on Hostinger.